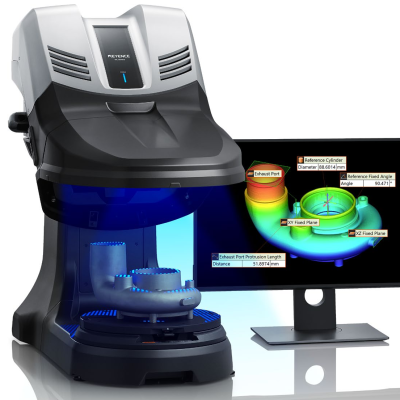
Japan-based measuring instruments and vision systems manufacturer, Keyence, has launched its new high-precision color 3D scanner.
Boasting ±10 μm accuracy with 2 µm repeatability, the 3D scanner CMM has a fixed structure design and a rotating 360° stage enabling the generation of high-resolution data with millions of shape profile from all angles.
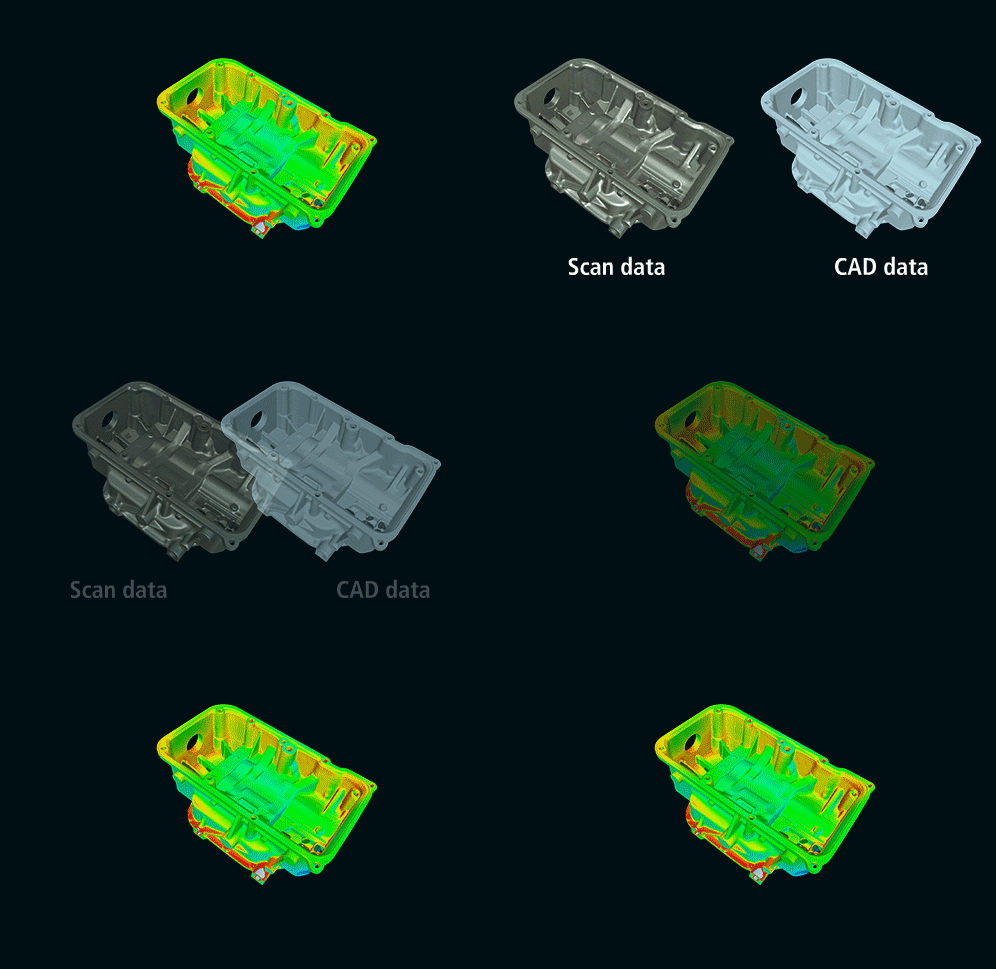
The CMM also collects color data from a surface to accurately represent the scanned part for reverse engineering and 3D printed models. As a result, such data can be overlaid directly with CAD data for additive manufacturing.

The 3D scanner CMM
Founded in 1974, Keyence has become a global leader in the development of factory automation equipment, including automation sensors, measuring instruments, vision systems, laser markers, and digital microscopes. These devices have been used within automotive production lines as well as research institutes for inspection purposes.
Included in Keyence’s latest VL series, the 3D scanner CMM is designed to accurately produce a 3D image representing a particular part. This data can then be stored, compared, or combined with CAD files of the same or resembling objects to identify surface irregularities. As a result, the data collected from the CMM can be used for rapid prototyping or reverse engineering of said part.
3D scanning the surface
Operating on the Keyence AI-WIDE SCAN II engine, surface data collected from the CMM can be received from components with free-form shapes as well as soft and reflective materials. This has been previously seen to be a difficult task for portable 3D scanners which can require post-processing of the scan data collected.
The CMM also performs geometrical evaluations for shape, position, and form of the object being 3D scanned. Similar 3D scanning solutions, i.e., the EinScan Discovery Pack and HD Prime Pack from SHINING 3D also incorporates color and high-precision for additive manufacturing; this can be seen in the company’s complete “3D scan to 3D print” solution.
Source: 3dprintingindustry


