In today’s fast-paced technological landscape, the proverb “the bigger the better” was turned upside down and a race to make everything smaller has started. From miniature optical components to micro-scale medical devices, the quest for creating ever smaller yet more intricate structures has led to remarkable progress in a wide range of fields.
An important manufacturing technique enabling these advancements is two-photon polymerization (TPP) 3D printing. However, especially in the field of micro-optics, even errors in the nanometer range can have significant consequences. Thus, it is essential to understand and compensate for as many systematic errors in the printing process as possible.
Research recently published in the Journal of Optical Microsystems delves into the critical challenge of correcting tilt and curvature errors in TPP printing.
These errors stem from inherent imperfections in the optomechanics of any printer. Conventionally, the established method for error correction involves the deployment of costly surface metrology tools, such as confocal microscopes or scanning electron microscopes. While effective, these techniques can be prohibitively expensive for many laboratories.
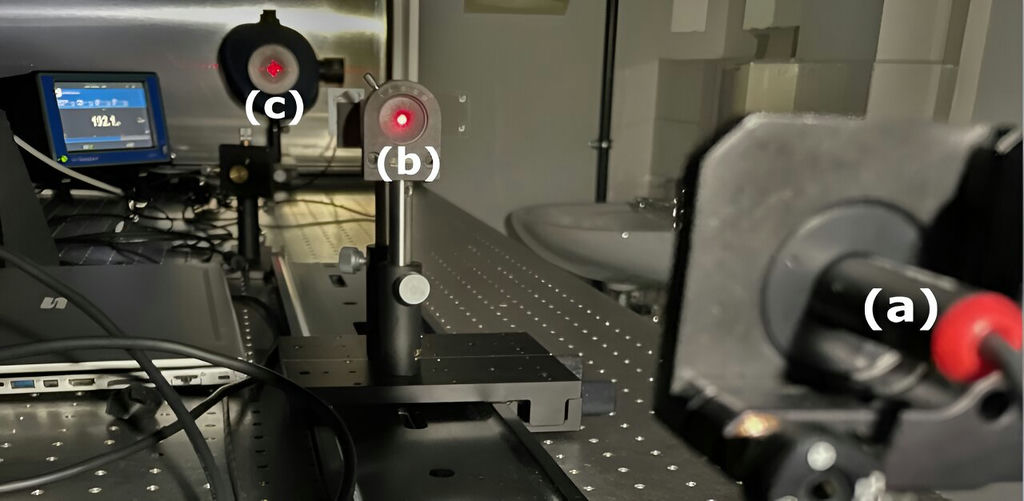
To offer a more accessible solution, researchers from Bonn-Rhein-Sieg University of Applied Sciences in Germany introduced a simplified optical setup for measuring tilt and curvature errors and put it to the test. The core idea was to print an optical structure without compensating for the errors, subsequently observing the effect such imperfections have on the image produced when illuminating the structure with a laser.
A computer algorithm was then used to reconstruct the errors, enabling compensation in subsequent prints. A similar method is already employed to verify dimensions of small structures in semiconductor manufacturing.
“To verify the functionality of our method, we tested it with structures deliberately engineered to exhibit defined errors. We also conducted a compensation procedure on one of our print sets and compared the image of optical elements printed with compensation to that of the uncompensated system,” said Elias Ellingen, one of the researchers.
The test showed a reconstruction of tilt and curvature errors is possible. The associated uncertainties are lower than the expected errors for the researchers’ print set, with a precision of 1.1 mRad for tilt errors. To put this into perspective, this is equivalent to the angular change a 10 cm long stick would experience if lifted at one end by the diameter of a single human hair.
When the researchers compared the images of the uncompensated print to those of the compensated print, they observed a clear reduction in noise, further underscoring the substantial improvement their approach brings to the quality of printed microstructures.
This research has introduced a cost-effective and accurate method for correcting tilt and curvature errors in TPP printing. The method, backed by low uncertainties, offers a practical solution for labs and facilities that may find traditional error correction methods prohibitively expensive.
By streamlining the TPP printing process, this methodology broadens accessibility to a diverse spectrum of researchers, thereby enabling advancements in critical domains such as micro-optics, medical technology, and micromechanical elements.
Subscribe to AM Chronicle Newsletter to stay connected: https://bit.ly/3fBZ1mP
Follow us on LinkedIn: https://bit.ly/3IjhrFq
Visit for more interesting content on additive manufacturing: https://amchronicle.com


